The third step was the one that always caught her. Two feet up, a fizz of pain under the kneecap, hand gripping the banister a little too tight. She’d started planning her day around “how many stairs” it contained-avoiding the tube, eyeing restaurant toilets, thinking twice before carrying laundry in one go. Her GP had said, “Strengthen the muscles around the joint.” The internet said “squats and planks.” Her knees said absolutely not.
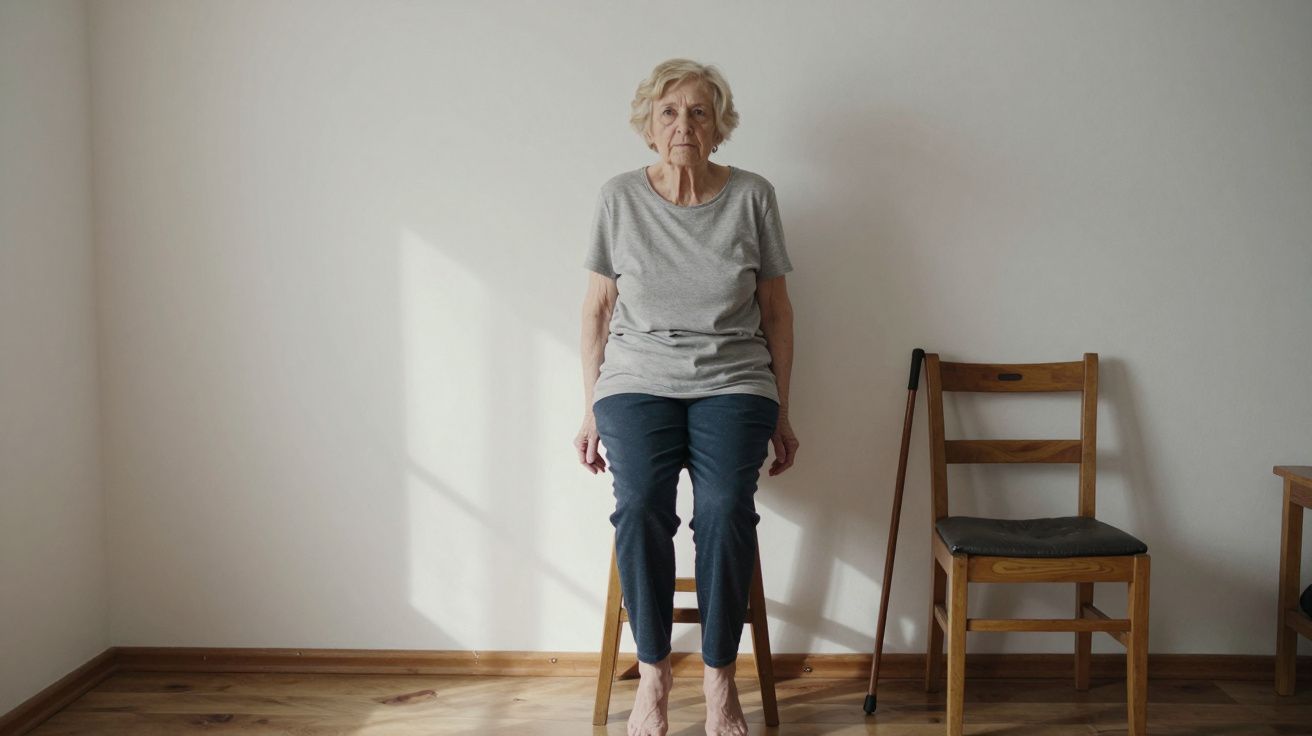
In the physio clinic, she stood against a plain white wall while the therapist adjusted her feet a few centimetres forward. “We’re going to teach your legs to trust you again,” he said. No mats, no weights, no getting down on the floor. Five minutes later her thighs were warm, her knees felt strangely lighter, and the stairs outside didn’t look quite as steep. The wall, it turned out, was a quiet gym.
Why knees start arguing with stairs after 60
Stairs are not just “going up and down.” They ask your knees to take up to three or four times your body weight with each step. After 60, cartilage can thin, the muscles at the front and sides of the thigh can weaken, and the messages from feet and ankles to brain get a little slower. The result is a joint that feels exposed whenever the ground isn’t flat.
Most people respond by avoiding the problem. Shorter walks, fewer trips upstairs, carrying one shopping bag instead of two. Sensible in the moment, but the body reads that as, “We don’t need strong legs any more,” and quietly decommissions muscle. Less support, more pain, more avoidance. The loop feeds itself.
Physiotherapists look at it differently. They’re less interested in making you a gym person and more interested in three things: stronger thighs and hips, steady ankles, and good alignment when you bend the knee. The trick is finding a way to train all three without asking you to kneel, lie on the floor, or do deep squats that make you swear under your breath. That’s where the wall comes in.
A wall offers contact, feedback, and safety. It lets you load the legs in gentle angles, pausing when you need to, resting your hands without collapsing into a chair. Think of it as scaffolding for your balance and your confidence. Five focused minutes most days is enough to nudge strength up and worry down.
The 5‑minute wall routine physios love
This is a short sequence several physiotherapists use with older patients who struggle with stairs. It’s not about pushing through pain or chasing a burn. It’s about sending a clear message to your body: “These muscles are needed. Please keep them.”
You’ll need:
- A clear section of wall
- Support nearby (a chair or banister) if you feel unsteady
- Flat shoes or bare feet
Let mild effort be your guide: your muscles should know they’re working, but your knees should not feel sharp, catching, or swollen afterwards. If they do, ease off and speak to a professional.
1. Wall hover: teaching your thighs to hold you
This is the “almost-sit” that looks like a squat but doesn’t behave like one.
- Stand with your back against the wall, heels about 20–30 cm in front of you, feet hip-width apart.
- Gently slide your back down the wall just a little-so your knees bend roughly 20–30 degrees, not more. You should feel as if you’re about to sit on a high stool.
- Keep knees in line with the middle toes, not collapsing inwards.
- Hold for 10–20 seconds, breathing normally, then slide back up and rest.
Aim for 3–4 holds, with a short rest between. You’re teaching your quadriceps-the big muscles at the front of your thighs-to switch on and stay on, the way they need to when you pause on a stair.
If this feels too much, start with tiny bends, even just a few centimetres, and build the hold time before you build the depth.
2. Wall step pattern: rehearsing the staircase
Next, you’re going to mimic the exact move your body makes on stairs, but with the wall stabilising you.
- Turn to face the wall, standing about a foot away, fingertips resting lightly on it at shoulder height.
- Shift your weight onto your left leg.
- Lift your right knee as if you’re placing your foot on a low step in front of you. Don’t yank it high; just a controlled lift.
- Pause for a count of two, feeling your standing leg working to keep you steady.
- Slowly lower and switch sides.
Alternate for 10–12 lifts each leg. Keep your trunk tall and your gaze forward, not at your feet. This strengthens the front of the hip, trains balance, and reminds the brain what a confident step-up feels like-without the fear of missing the stair.
If balance is tricky, keep more weight through your hands on the wall or place a sturdy chair beside you to hold.
3. Wall calf raises: protecting the knee from below
Your calves act like shock absorbers. Weak calves mean your knees take more of the impact on each step.
- Stay facing the wall, fingertips there for balance.
- Stand tall, weight evenly across both feet.
- Slowly rise up onto the balls of your feet, lifting your heels as high as is comfortable.
- Pause for a second at the top, then lower with control, letting the heels kiss the floor rather than flop.
Aim for 2 sets of 10–15 repetitions, with a short rest in between. Focus on smooth movement rather than speed; wobbling is your body learning.
If both legs together feel too easy and your balance is good, try gentle single-leg raises, one side at a time, with more support from your hands.
4. Wall hamstring curl: waking up the back of the leg
The muscles at the back of the thigh help control how you lower yourself down. They’re the unsung heroes of going downstairs safely.
- Still facing the wall, hold on lightly.
- Shift weight to your left leg.
- Bend your right knee, bringing your heel towards your bottom without letting the knee drift forward.
- Pause, then lower with control.
Perform 10 curls on one side, then 10 on the other. You should feel the back of the thigh and maybe a little in the buttock, not a pinch at the front of the knee.
Make the movement smaller if you notice cramp, or hold on more firmly until your body learns the pattern.
How it all fits into five minutes
You don’t need a stopwatch. Think of it as:
- 1 minute: Wall hovers (3–4 holds)
- 1½ minutes: Wall step pattern
- 1½ minutes: Wall calf raises
- 1 minute: Wall hamstring curls
Let’s be honest: no one is counting perfect seconds in their hallway. Aim for “a little warm, not wiped out” and a total that feels closer to five minutes than to fifteen.
Making the routine safe, kind, and sustainable
The aim is not heroics. It’s consistency.
A few simple rules keep knees happier:
- Pain scale, not martyrdom. Mild discomfort in working muscles is fine. Sharp, catching, or swelling pain in the joint is your cue to stop and scale back.
- Little and often wins. Two to four sessions a week usually beats a once-a-fortnight blast. Your tissues like rhythm.
- Breath before bracing. Hold your breath and everything tightens, including around the joint. Keep the jaw loose and exhale on effort.
- Use the wall as a partner. Lean on it when you need to; lighten your touch as you grow steadier. The goal is choice, not independence-at-all-costs.
If you already have significant arthritis, a knee replacement, or any major health condition, clear this or any new exercise with your GP or physiotherapist first. They may tweak angles or rep counts to match your situation.
How stronger “wall legs” change the way you climb
People often notice the changes in moments, not measurements.
You realise you’re using the rail for reassurance, not rescue. You climb with a smoother rhythm instead of a hesitant, one-step-stop pattern. Coming down, you feel more in charge of how fast your body moves, rather than being pulled by gravity. The ache at the front of the knee softens from a shout to a murmur on most days.
Under the surface, three quiet shifts are happening:
- Your quadriceps and hips are doing more of the lifting, sparing the joint.
- Your calves and ankles are sharing impact with the knee rather than dumping it there.
- Your brain is updating its map of where your legs are in space, so balance improves almost without you noticing.
You’re not training for a marathon. You’re training for a life where stairs are background, not a daily obstacle.
| Focus | What you do at the wall | Why it matters on the stairs |
|---|---|---|
| Thigh strength | Wall hovers, step pattern | Helps the knee take load without pain spikes |
| Ankle & calf power | Wall calf raises | Shares impact so each step feels lighter |
| Control & balance | Step pattern, hamstring curls | Reduces wobbles and fear of falling |
FAQ:
- How often should I do the 5‑minute wall routine?
Most physios are happy with 3–4 times a week. If you’re very new to exercise, start with twice a week and build up as your confidence and strength grow.- What if my knees hurt even with small bends?
Keep the wall hover very shallow, or skip it at first and focus on the step pattern and calf raises. Persistent or worsening pain deserves a check‑in with a physiotherapist.- Can this replace walking?
No, it complements it. The wall routine builds the strength that makes walking and stair‑climbing more comfortable, but your joints also need the circulation and rhythm of regular walks.- Is it too late to start after 70 or 80?
Muscles respond to training at every age. The routine may need to be gentler and slower, but people in their eighties still gain strength and balance from this kind of work.- How will I know it’s working?
Common early signs are: gripping the banister less, feeling steadier in the shower, getting up from chairs more easily, and noticing that stairs feel “annoying” rather than “threatening.” Those are wins.


Comments (0)
No comments yet. Be the first to comment!
Leave a Comment